Below are images that I am going to base my models on.
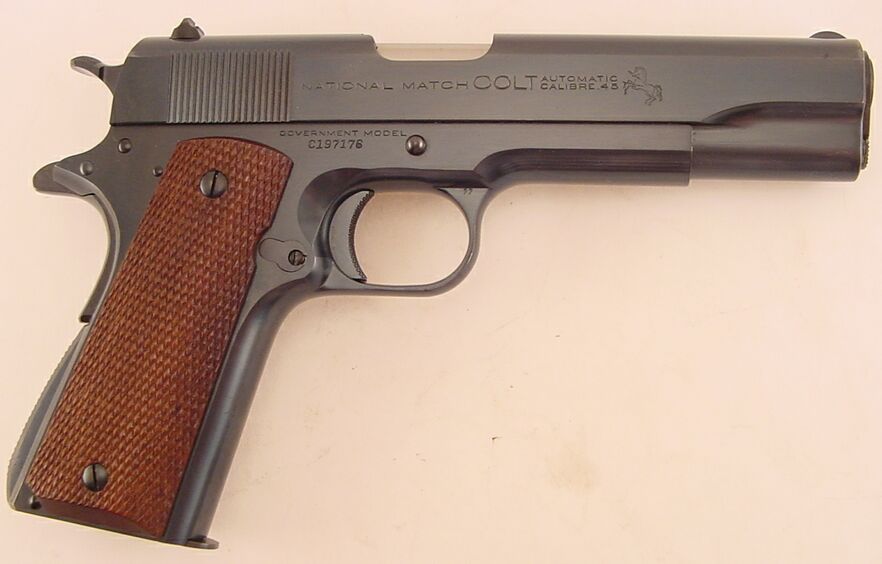

Pistol
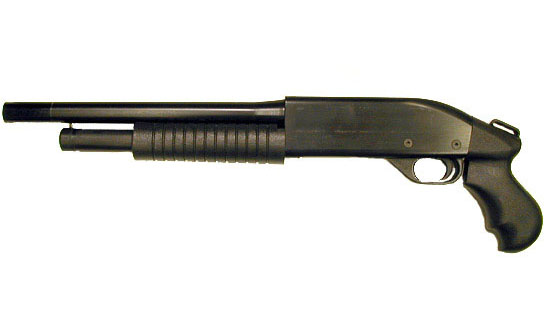
Shotgun
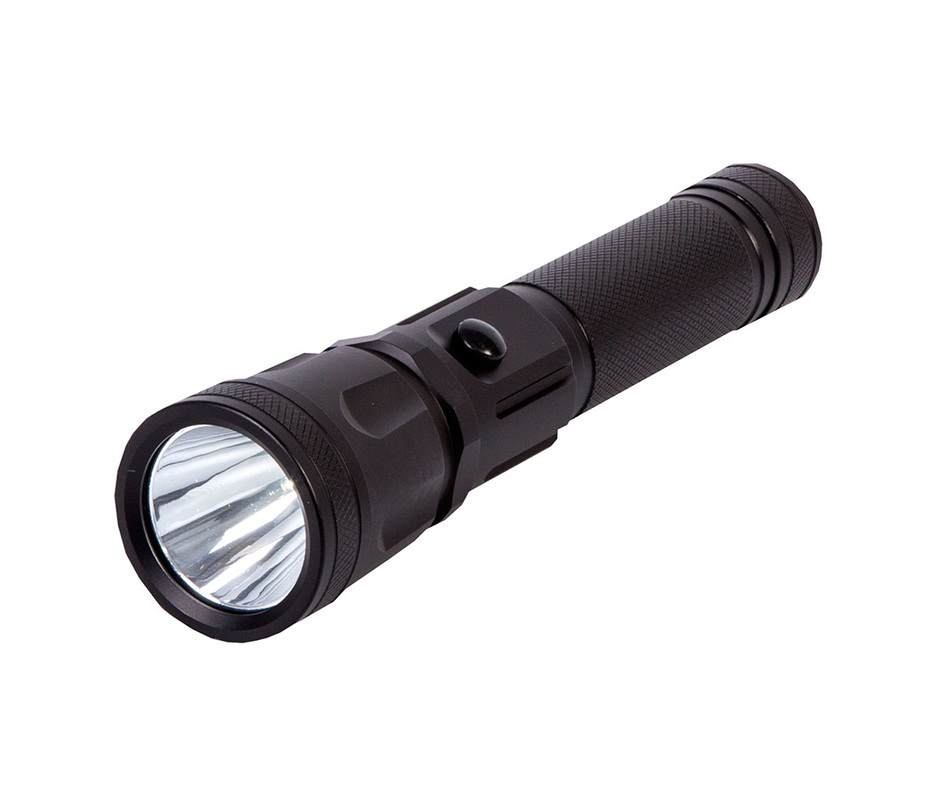
Torch (flashlight)
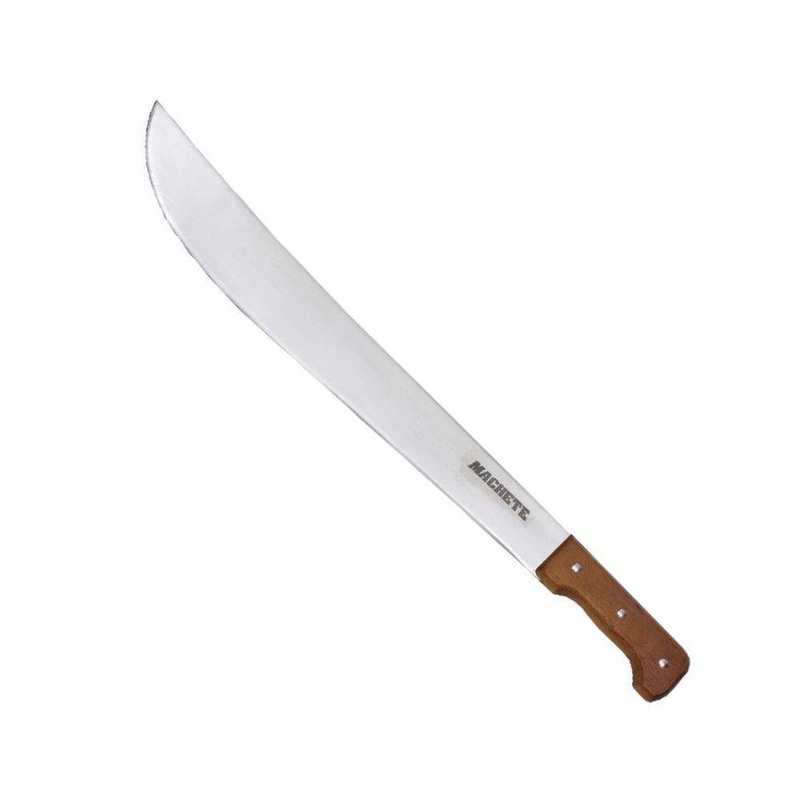
Machete
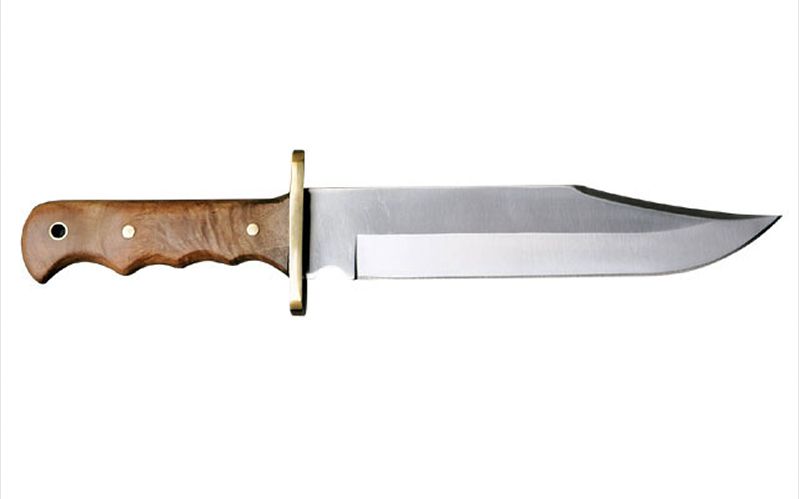
Knife
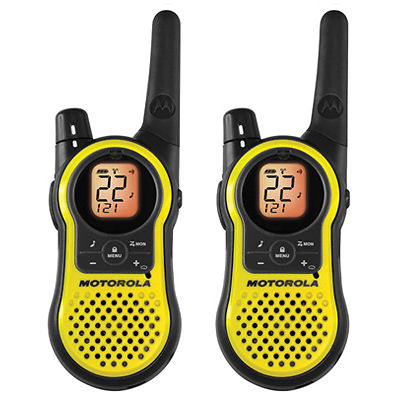
Walkie Talkie
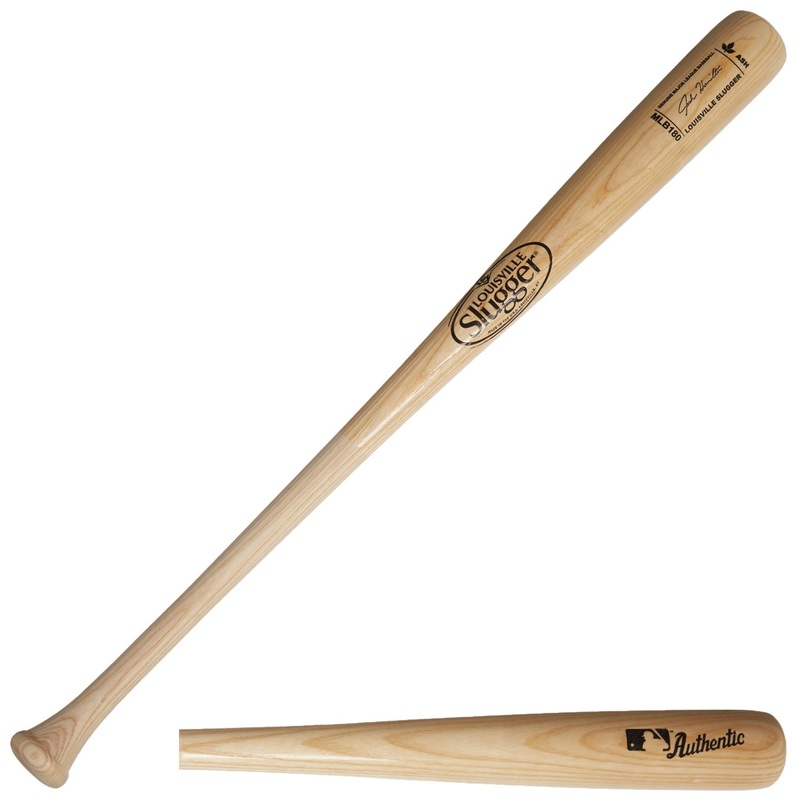
Baseball bat
|
Below are images that I am going to base my models on. Pistol Shotgun Torch (flashlight) Machete Knife Walkie Talkie Baseball bat
0 Comments
For my 3D modelling project i have created a model tap to improve my knowledge on how to use the 'Cinema 4D' software, so i am able to incoporate what i have learnt into my final project. Below is a animated video displaying the the finished model (Tap). To begin modelling my tap i inserted a primitive object, a cube into Cinema 4D then changed the object to editable through pressing the button in the top left hand corner . From there i changed the object properties X, Y, Z to change the size and shape of the object into a flat rectangular shape. Once i had the base of the tap i selected the centre of the model by using the polygon tool to the left of the screen which allowed me to select individual parts of the surface on my model. I then extruded the centre of the rectangle using the offset settings which i repeated until i had the main shape of the tap. Next i used the rotate tool to create the bend of the tap Once i had the shape i then reduced the size of the tap using the 'Normal Scale' tool so that the tap begins to look as i intended to which i then continued to extrude which i repeated several times until i had formed the shape of the tap. 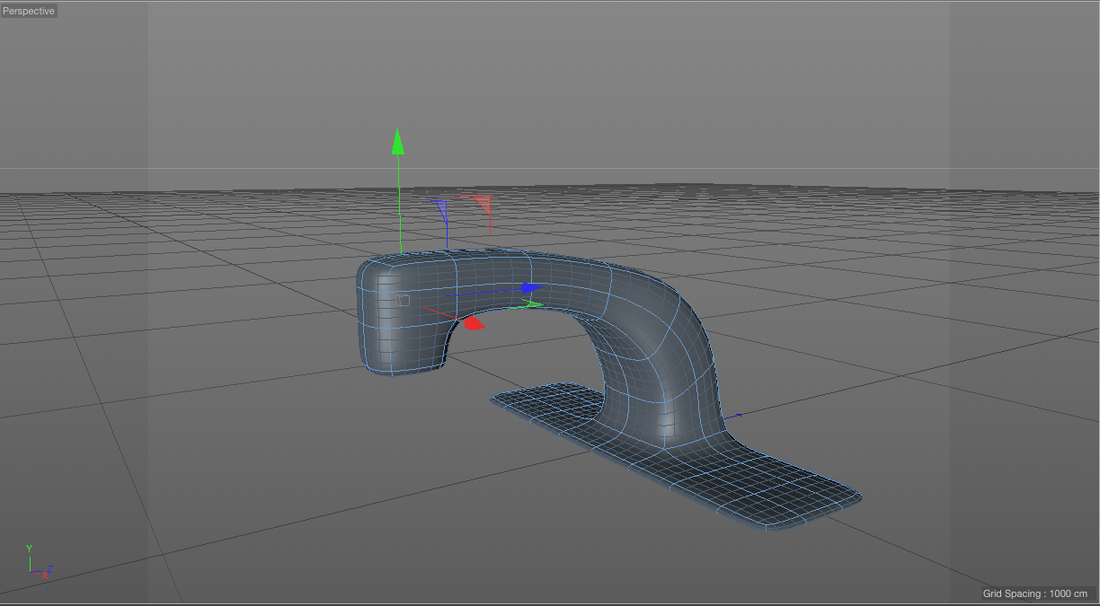 To create the end of the tap i selected the bottom of the shape where the tap ends using the 'live selection tool' therefore allowing me to extrude just the bottom faces i have selected. Once i had extruded i used the 'Extrude inner' tool to create the inside of the tap by changing the offset to -100. Finally i made the tap smooth by using the subdivision surface tool to create a more realistic looking tap.  The final piece of the tap was to create the two handles. To do this i began with a cube to which i selected the four outside faces using the 'live selection tool' then extruded all four sides to create a somewhat cross looking shape. I then reduced the sides of the faces using the 'Normal Scale' tool then extruded using the offset. Next i scaled the sides up by 200% and extruded once again, i also extruded the top of the shape but only slightly. Finally i selected the bottom of the shape and extruded twice to create the stem for the handles then scaled the base up by 200% to create the bottom of the handle. 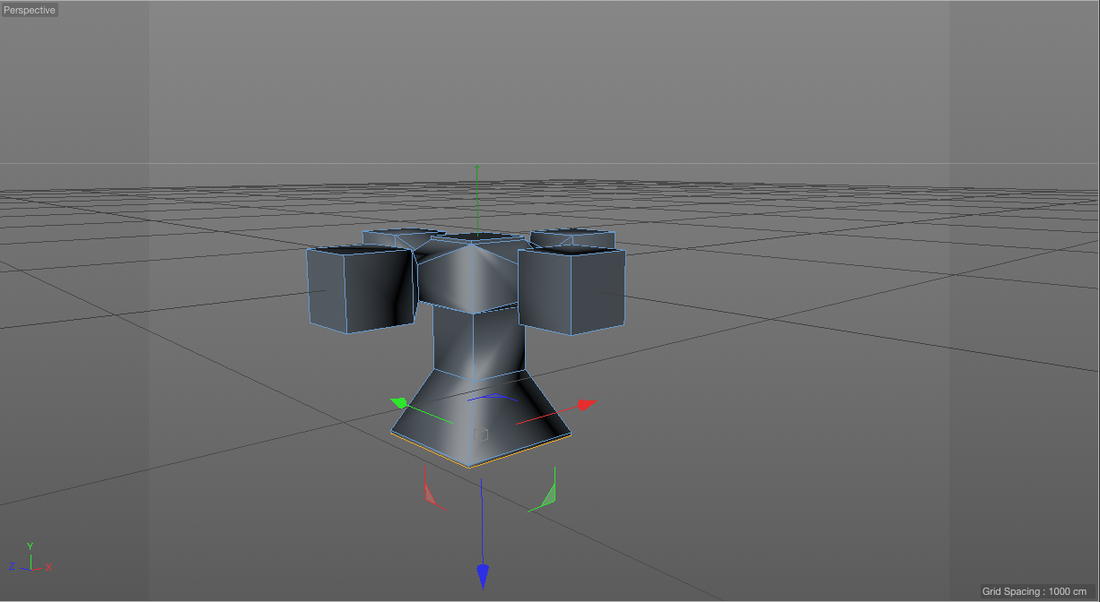 Once i had created my handle i used the subdivision surface tool to smooth the edges, which can be seen below.  I then scaled my tap handle to a smaller size so that the handle matched the main part of the tap which i then used the symmetry object tool to create a matching tap handle but on the other side of the model. Which can be seen in the video above.
|
AuthorWrite something about yourself. No need to be fancy, just an overview. ArchivesCategories |
 RSS Feed
