|
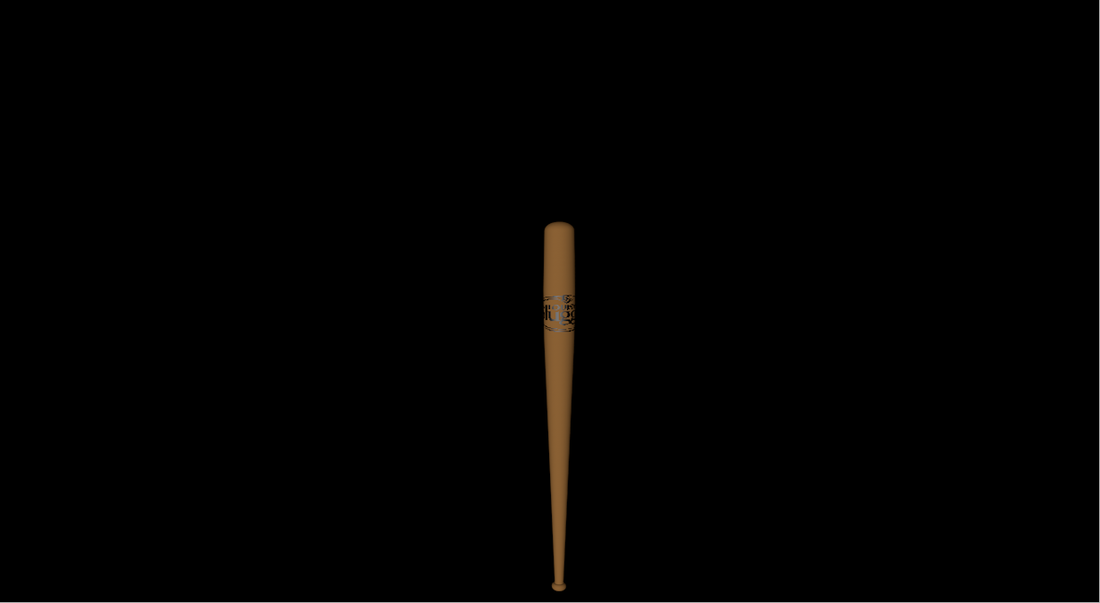
Baseball Bat
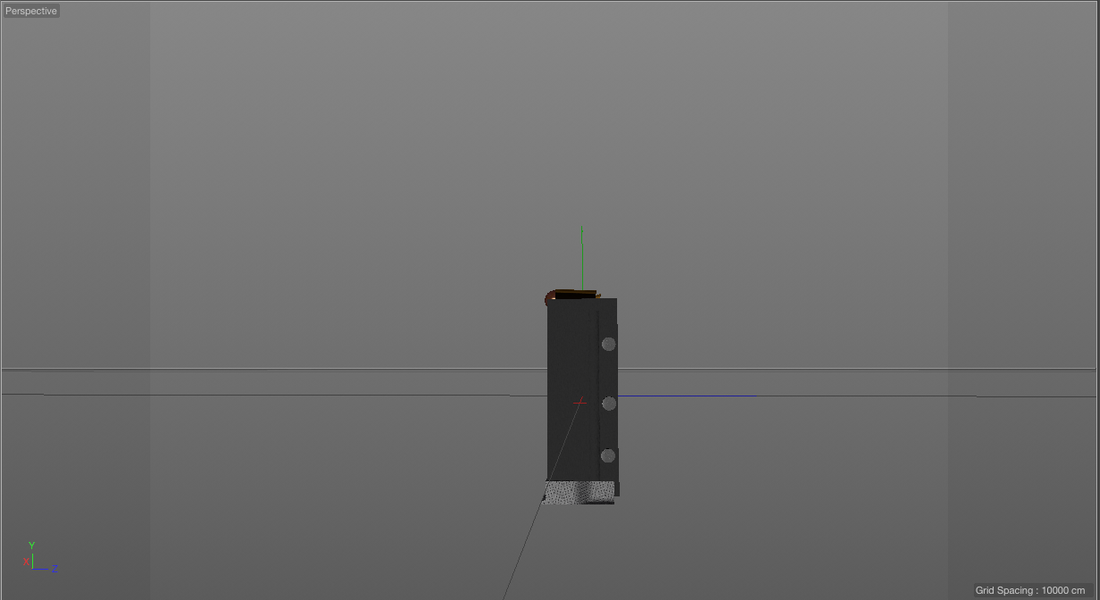
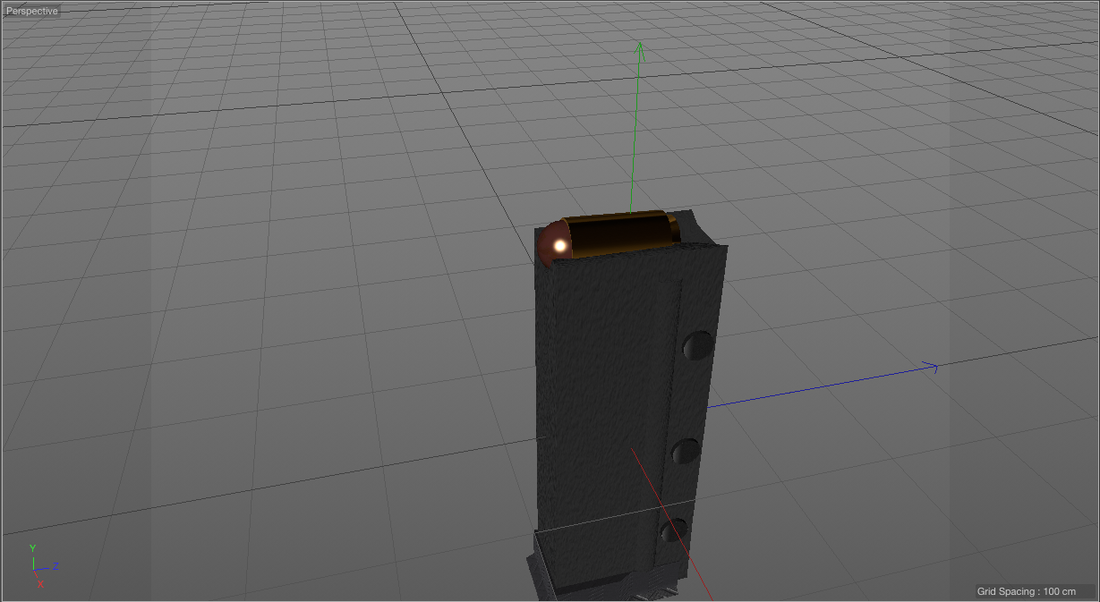
Machete 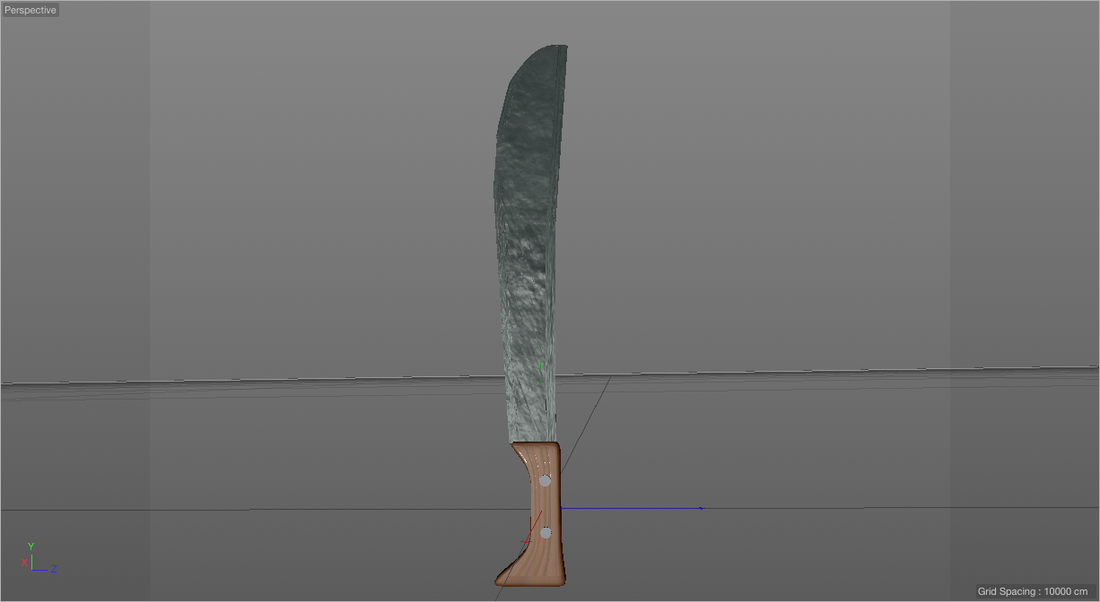 Pistol Magazine
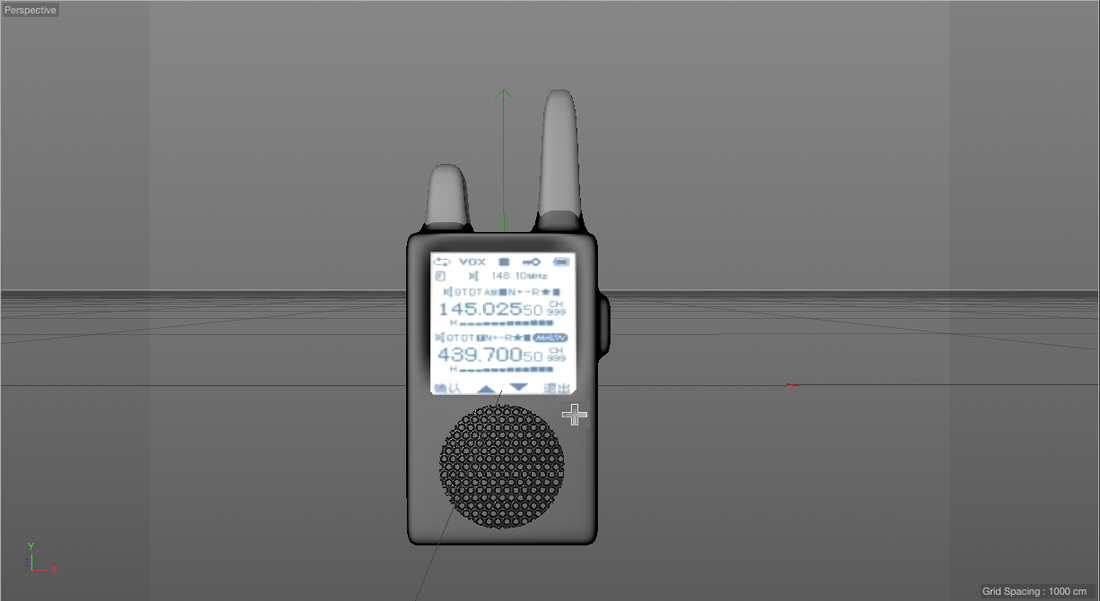
Walkie Talkie
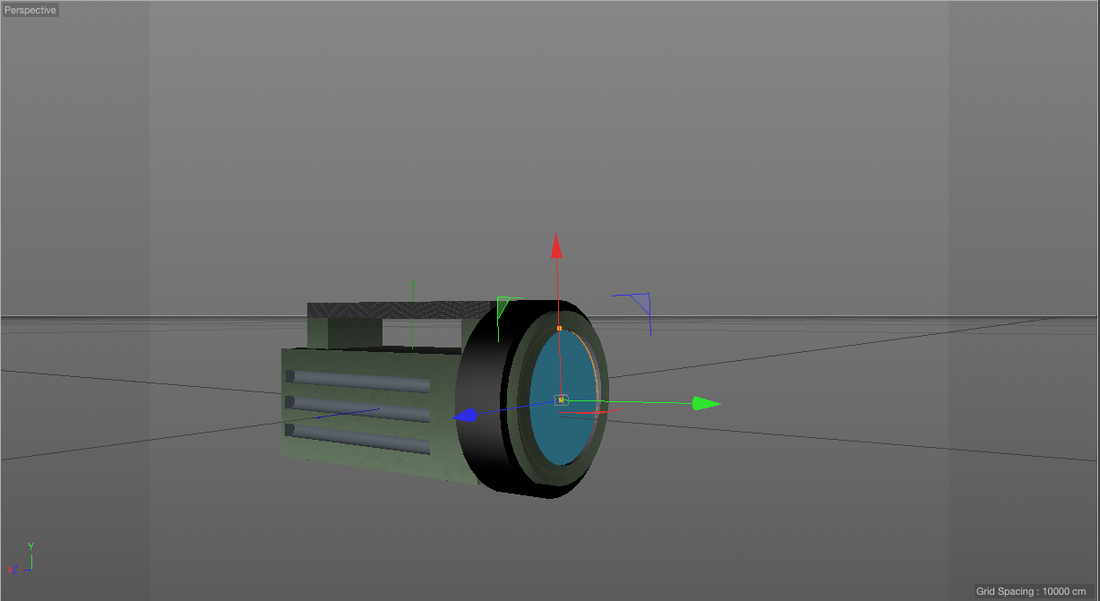
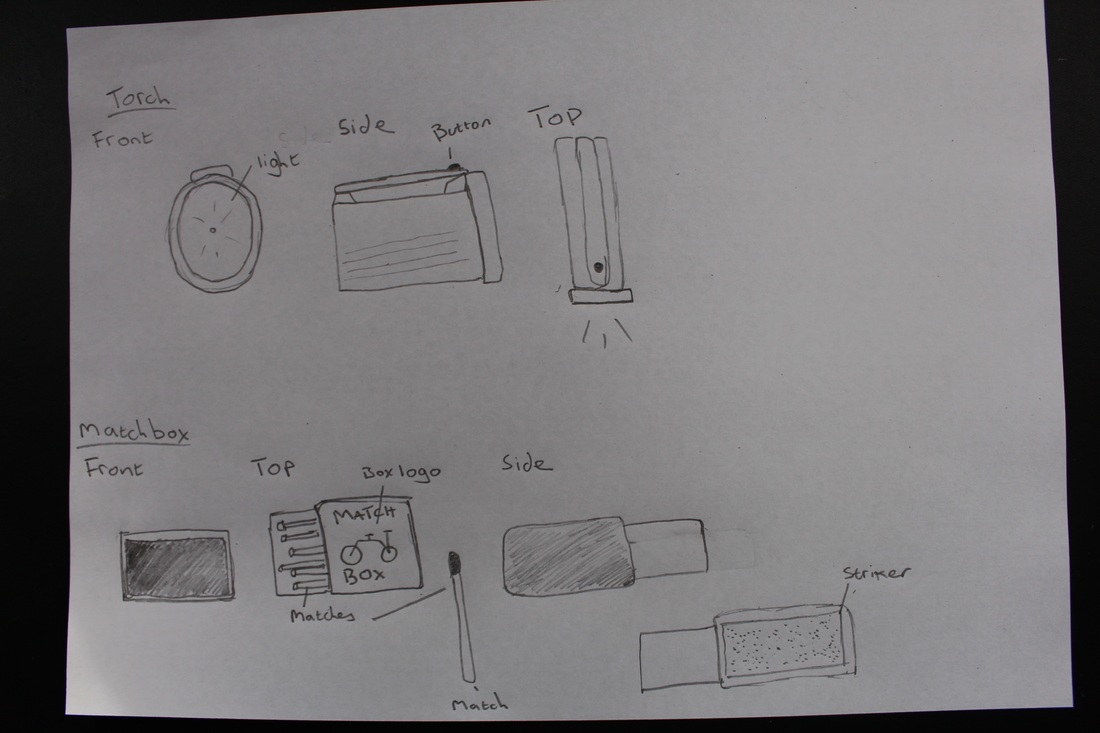
Torch
Matchbox
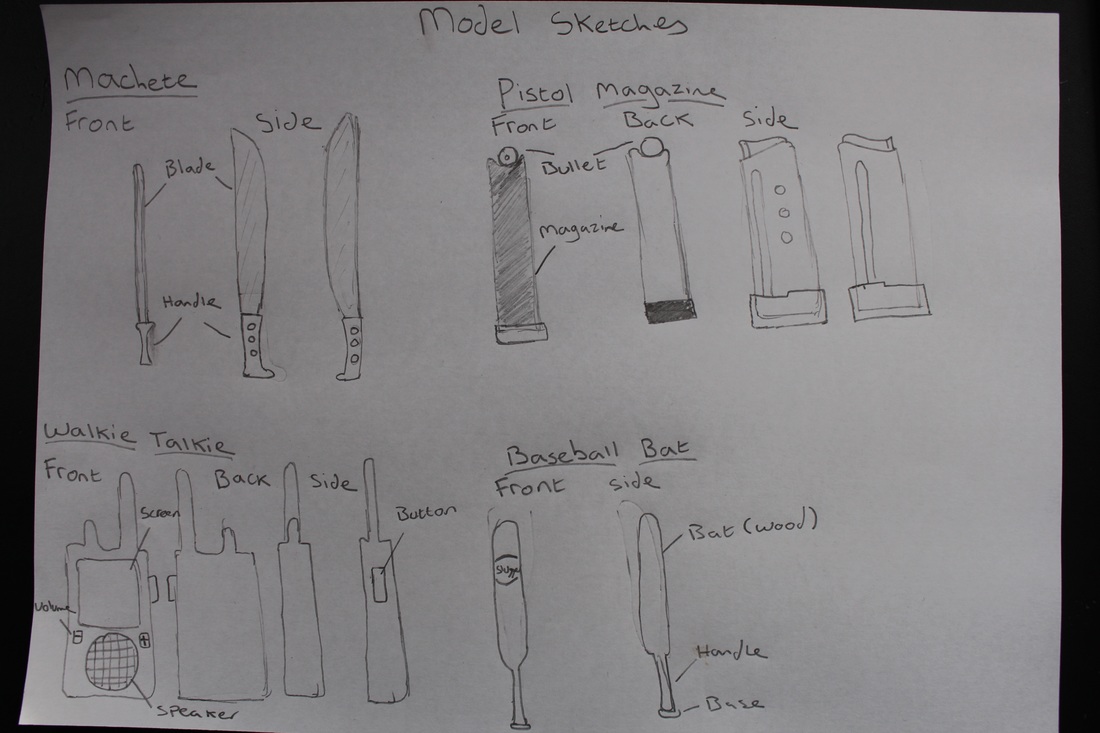
For my Level 3 BTEC Media 3D Modelling assignment I created 6 different models for a first person horror video game. Prior to beginning my models, I mind mapped several ideas that I could potentially use as my final models. Eventually I decided to use the first person shooter game as the idea which I could base my models around. The models I chose to design were a baseball bat, walkie talkie, pistol magazine, machete, torch, and a matchbox which I felt related back well with the theme. Once I had my ideas I began research which involved finding images using the internet that I felt complimented the ideas I had written down and so I had an idea of how the models should look. I then drew sketches that would help me find the overall look of the models and how I would begin to construct them.
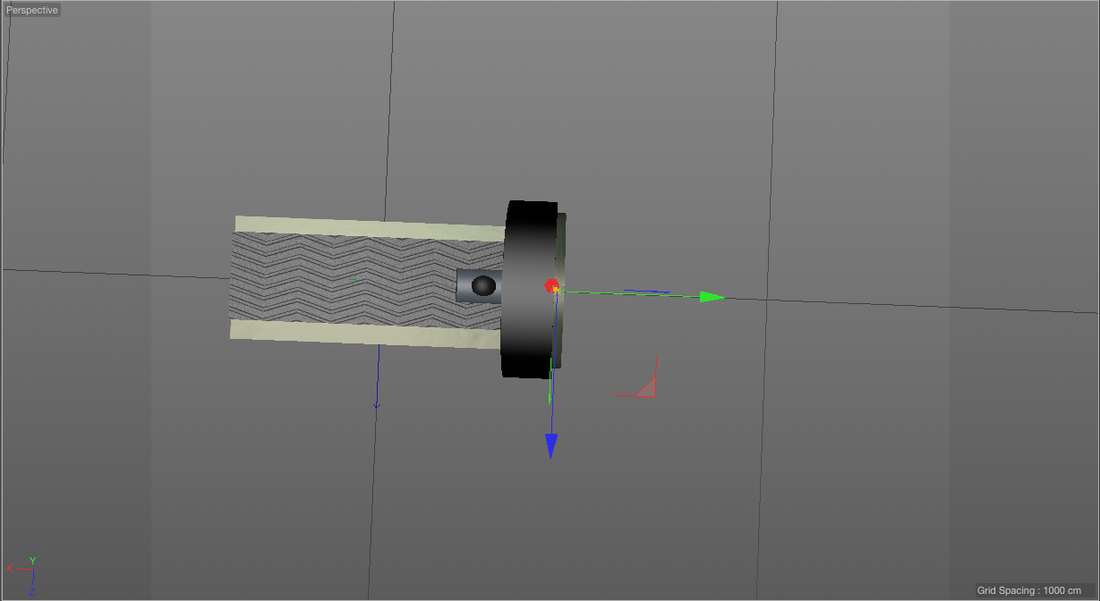
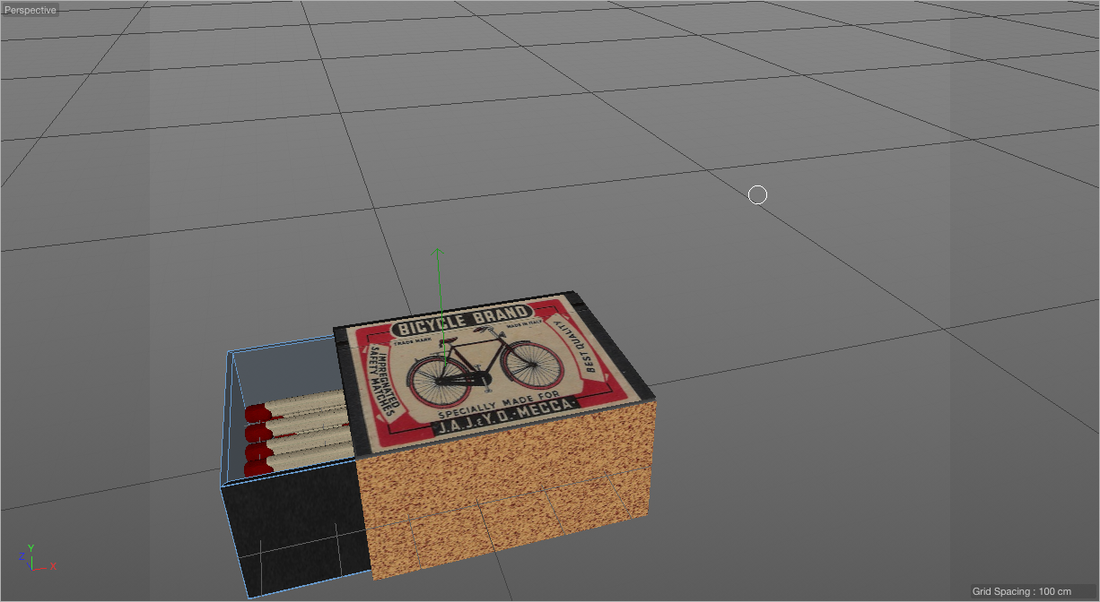
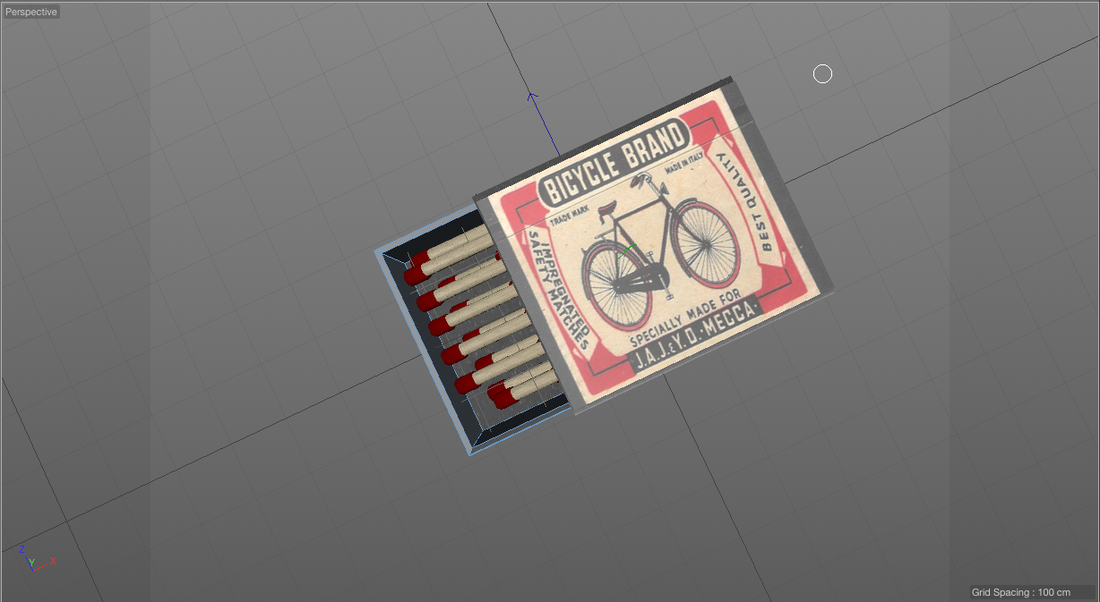
After I finished completing research I then began to create my models. The first model I decided to create was my baseball bat which I felt was a fairly easy process as the model could be constructed as one piece rather than multiple pieces. To begin my model I used the pen tool to outline the shape of a baseball bat, which I then extruded to form the solid shape of a baseball bat. Once I had created the shape of the bat I added a wood texture to the model so the bat felt genuine and authentic. I then found an image of ‘Louisville Slugger’ logo to add to the top of the bat which I felt made the model look more engrossing and added to the realistic look of the model. The next model I created was a machete, unlike the baseball bat I constructed the model using two separate pieces, one for the blade and one for the handle. To begin I outlined the blade of the machete using the pen tool so I was able to capture the curvature of the blade, once I had the shape I wanted I then extruded to add thickness to the blade. The next step in creating the model was to make the handle. To create the handle, I used a cube which I split into segments so I was able to manipulate various parts of the shape. Once I had done this I expanded the shape upwards to make a more rectangular shape rather than just a square shape, I then selected the bottom and top line of the shape and extruded slightly to create a more curved look to the handle to coincide shape of the blade. I then grouped the blade and handle together and added three spheres which I embedded into the handle to give the machete a more authentic look finally I added a steel texture to the blade and a wood texture to the handle to give the machete a more genuine, enticing look which I felt worked well. The next model I created was a walkie talkie. The walkie talkie was a more difficult model to create as I had to find multiple textures to match the look of a genuine walkie talkie. To begin the model, I created the body of the walkie talkie using a cube and manipulated the shape to form the body, I then selected the top of the shape and extruded to create the Ariel I then extrude the left side slightly to create the button and finally I decide to use the inner extrude on the front of the shape to create the face/screen of the walkie talkie. Once I had my shape I then used a texture of a screen I got from the internet which I then placed onto a flat surface I created from a cube and placed the shape into the front of the shape where I used the inner extrude to give the walkie talkie a three dimensional look to the model. I then added a black texture to the body of the walkie talkie to contrast with the screen and to also make the screen look more prominent. Finally, I used a grey texture for the Ariel and then using a circular shape I added a speaker texture which I then placed below the screen to allow for a more authentic walkie talkie look. The fourth model I created was a gun magazine, the gun magazine was made in three parts the body of the magazine, the base and the bullet. The body was created using a cube which I stretched into the shape of a pistol magazine which I then inner extruded the top to create a space for me to place the bullet, I then created the base using a cube which I then moulded and shaped so the base looks as though it is part of the magazine and to also make the model look authentic. Finally, I created the bullet using a sphere, cylinder and pyramid which I grouped together and added a gold texture, I then added a black texture to the body and base of the magazine to create a clean look to the magazine and then I added the bullet into the top of the magazine. The last two models I created was a torch and matchbox. I found both models to be the most difficult to model out of the six I created. This is due to the more complex and detailed design both the models had. The torch was created out of a variety of different shapes which I grouped together, the parts included the body of the torch, the light and the handle. Once I hade placed the parts together I used green and grey colour scheme as I felt both colours contrasted well together. The final model I created was a matchbox, to begin creating the matchbox I used two cubes which I then removed the inside of one to create the sleeve that cover the matches and inner extruded the second cube to create the box the matches will sit in. I then placed them both together using a black texture for the box and added a sandpaper texture to the left side of the sleeve to create the striker and finally I used a flat surface which I then added a logo to and placed at the top of my matchbox to add a genuine feel to the model. Overall I feel the process in designing and creating my models was challenging yet successful as I improved my skills and understanding of cinema 4D. All the models I created correlated with the theme I chose and felt I have designed models that would work well within a video game. Below are images that I am going to base my models on. 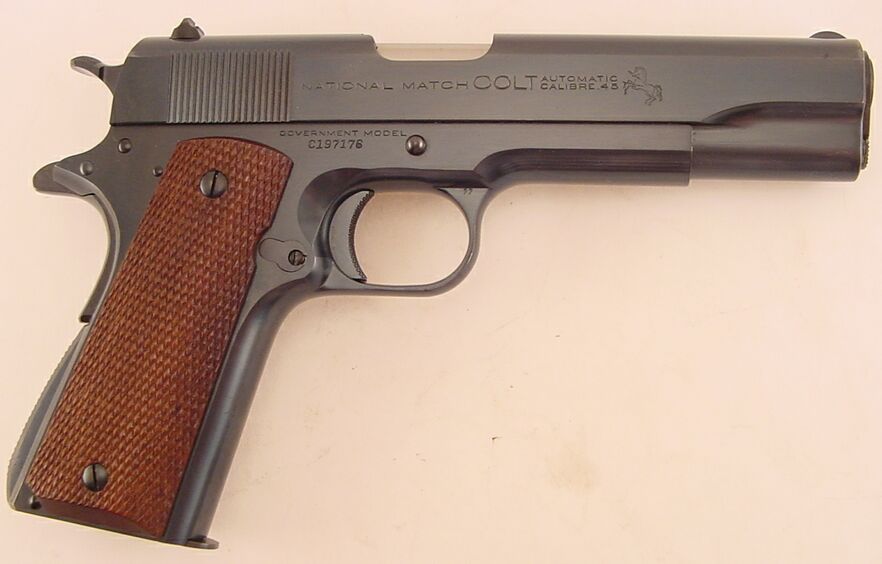  Pistol 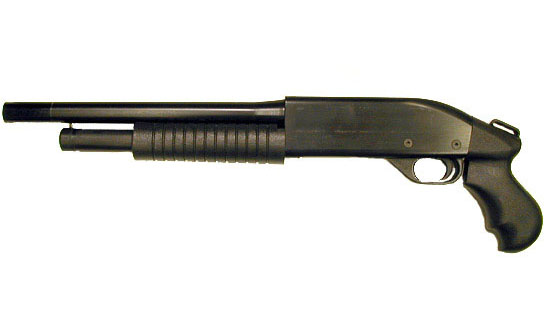 Shotgun 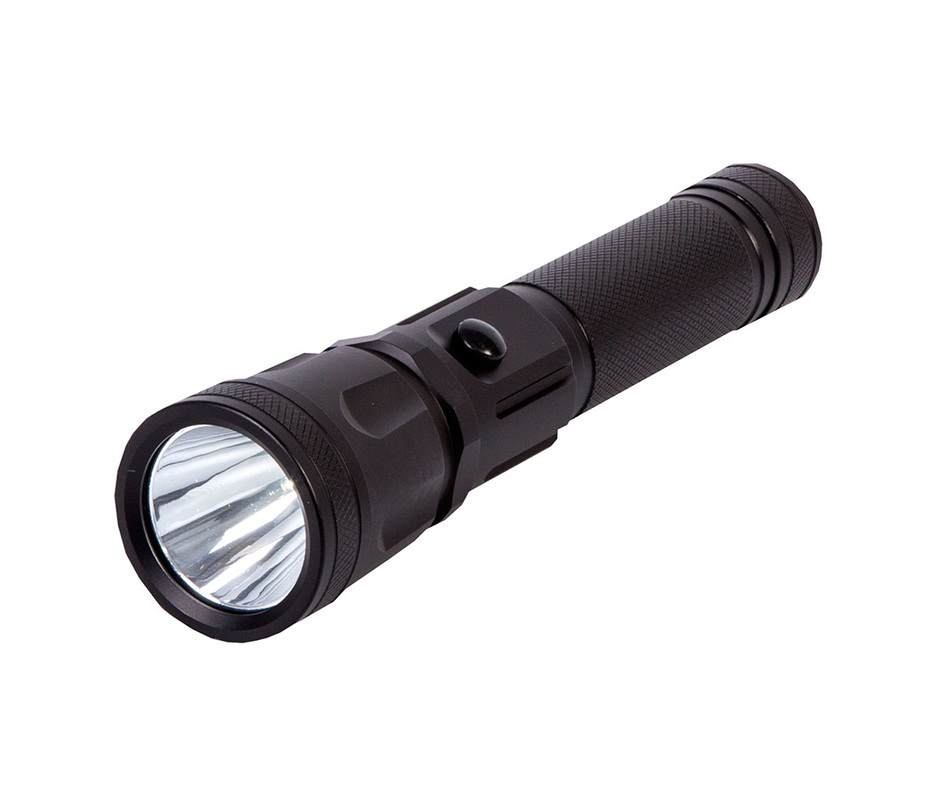 Torch (flashlight) 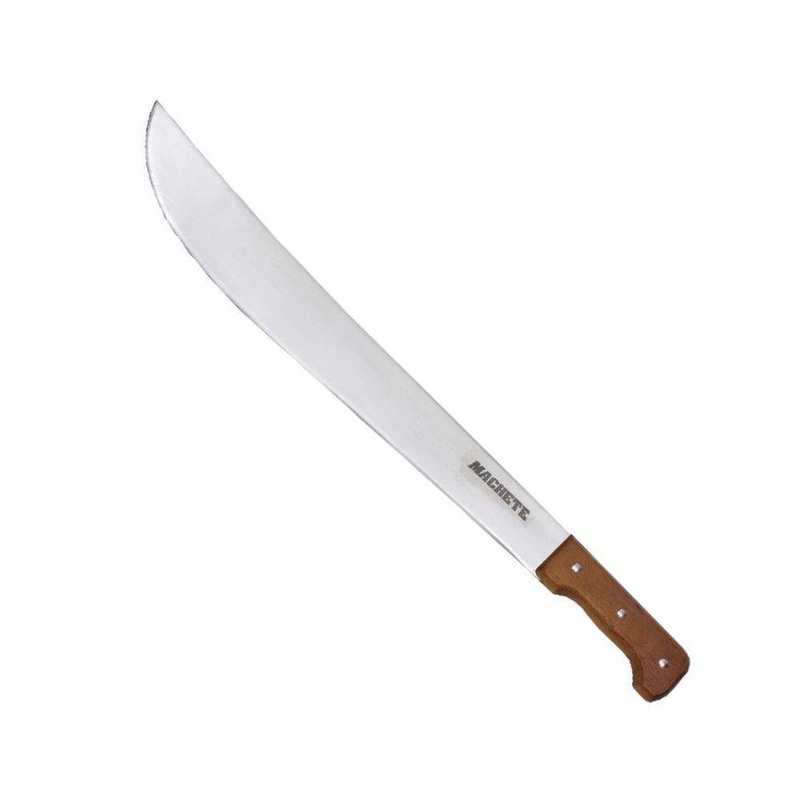 Machete 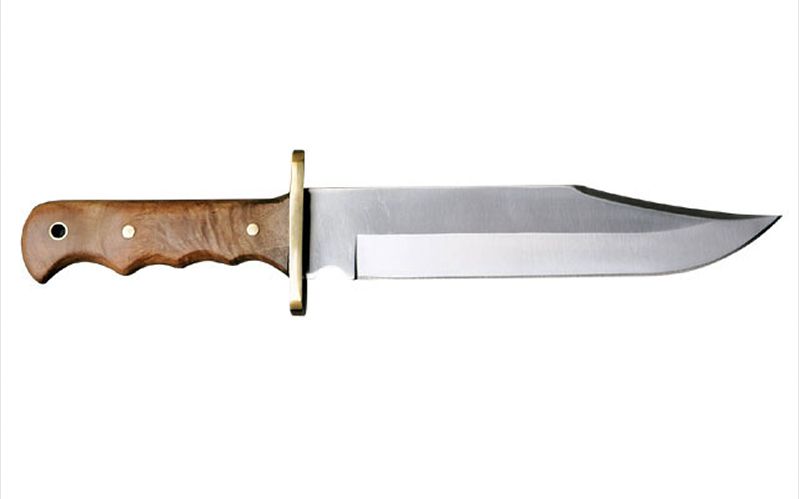 Knife 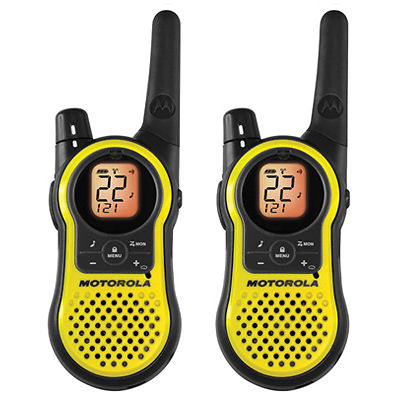 Walkie Talkie 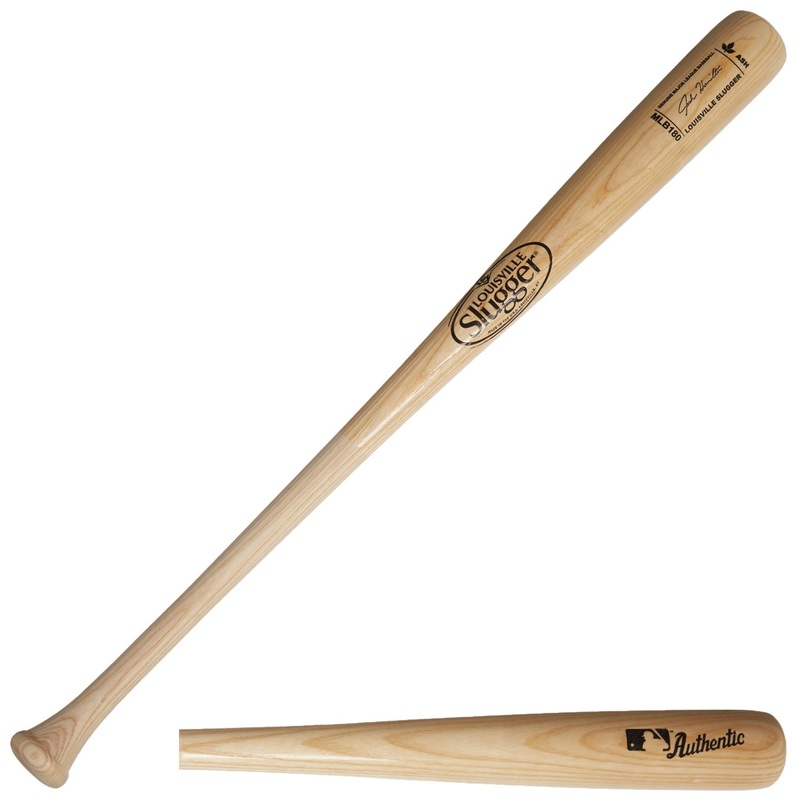 Baseball bat
For my 3D modelling project i have created a model tap to improve my knowledge on how to use the 'Cinema 4D' software, so i am able to incoporate what i have learnt into my final project. Below is a animated video displaying the the finished model (Tap). To begin modelling my tap i inserted a primitive object, a cube into Cinema 4D then changed the object to editable through pressing the button in the top left hand corner . From there i changed the object properties X, Y, Z to change the size and shape of the object into a flat rectangular shape. Once i had the base of the tap i selected the centre of the model by using the polygon tool to the left of the screen which allowed me to select individual parts of the surface on my model. I then extruded the centre of the rectangle using the offset settings which i repeated until i had the main shape of the tap. Next i used the rotate tool to create the bend of the tap Once i had the shape i then reduced the size of the tap using the 'Normal Scale' tool so that the tap begins to look as i intended to which i then continued to extrude which i repeated several times until i had formed the shape of the tap. 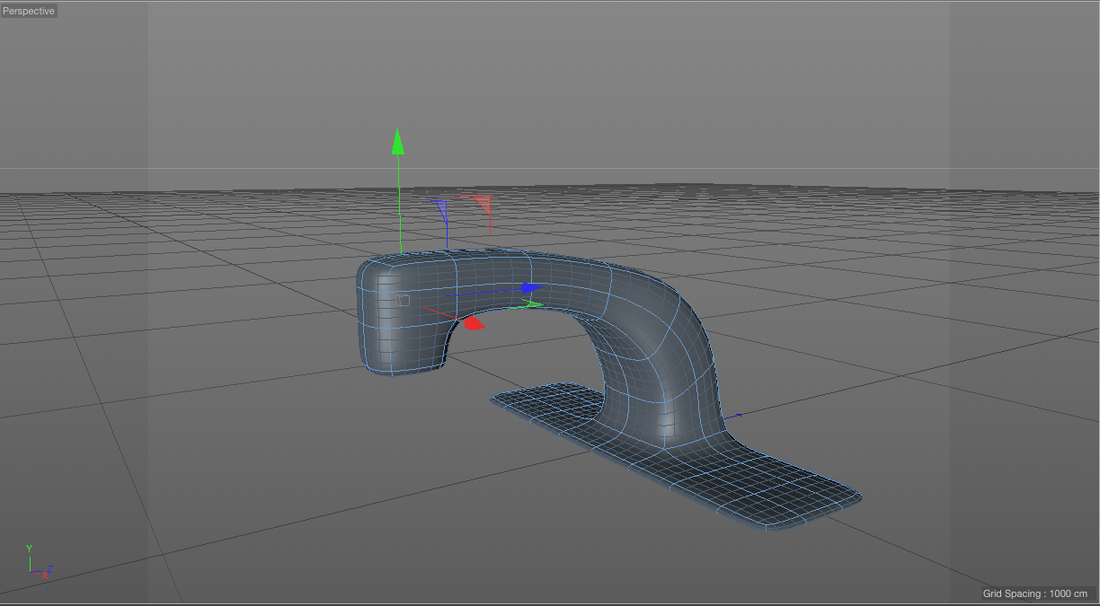 To create the end of the tap i selected the bottom of the shape where the tap ends using the 'live selection tool' therefore allowing me to extrude just the bottom faces i have selected. Once i had extruded i used the 'Extrude inner' tool to create the inside of the tap by changing the offset to -100. Finally i made the tap smooth by using the subdivision surface tool to create a more realistic looking tap.  The final piece of the tap was to create the two handles. To do this i began with a cube to which i selected the four outside faces using the 'live selection tool' then extruded all four sides to create a somewhat cross looking shape. I then reduced the sides of the faces using the 'Normal Scale' tool then extruded using the offset. Next i scaled the sides up by 200% and extruded once again, i also extruded the top of the shape but only slightly. Finally i selected the bottom of the shape and extruded twice to create the stem for the handles then scaled the base up by 200% to create the bottom of the handle. 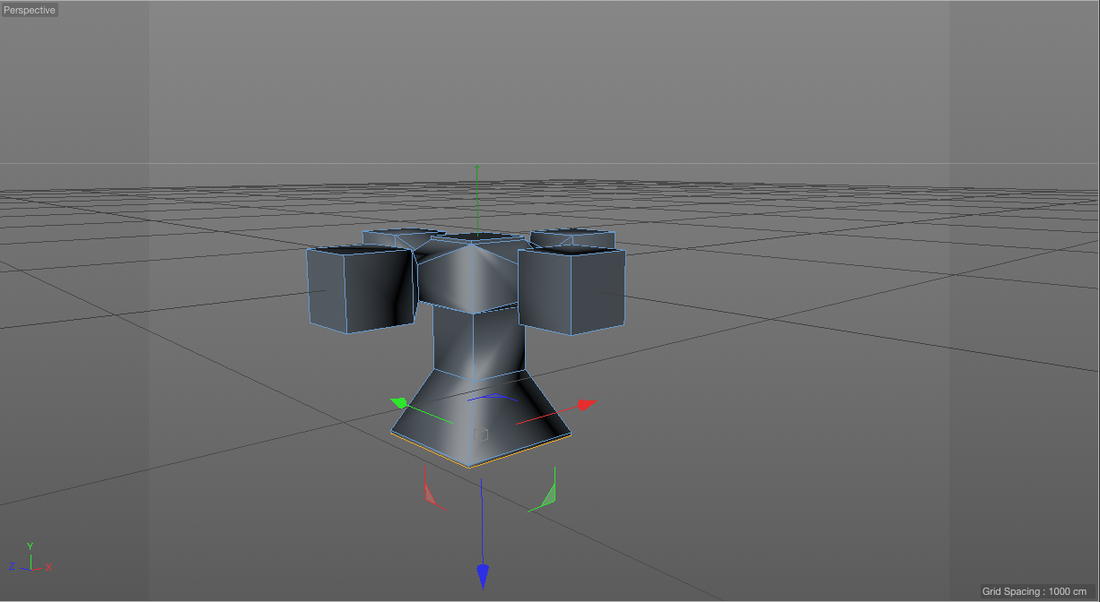 Once i had created my handle i used the subdivision surface tool to smooth the edges, which can be seen below.  I then scaled my tap handle to a smaller size so that the handle matched the main part of the tap which i then used the symmetry object tool to create a matching tap handle but on the other side of the model. Which can be seen in the video above.
3D Modelling Proposal
Nathan Hurst Working Title: Zombie Death Squad Application: I have chosen to create a Horror first person shooter video game that would allow me to create various models that would compliment and potentially be seen in the genre. The video game I would be creating would contain content that would appeal to a more mature audience as the overall aim of the game is to walk through a derelict old house defending against zombies, therefore I would be modelling objects such as shotguns, pistols, Torch etc. and to also use the skills I have developed on C4D. Target audience: The video game will appeal mostly to a mature audience due to the violence and themes therefore the target audience will be people aged 15 plus to prevent offending children. Also people who enjoy video games, horror or a mixture of the two would potentially find the project entertaining and would appeal to their interests. My target audience will most likely be interested in games such as ‘Doom’, ‘House of the Dead’ and ‘Resident Evil’ therefore my video game would be published under developers such as ‘Capcom’ and ‘Bethesda Software’. Finally, my project will be made for entertainment purposes only. Key visual themes: The visuals of my video game will be mostly dark and gritty due to the theme I will be conveying which is horror and survival. The colour I feel I would like to use is very dark browns and blacks to add to the derelict old building and to create an uneasy atmosphere for the audience, which I will also achieve through the low key, dim lightning. Also the visual theme will have a violent, dirty aesthetic to immerse the audience into the video game by allowing the colours to create a sense of danger and relate to the zombies within the game. Constraints: As I will be creating a video game that would possibly be developed for consoles such as the PS4 and Xbox One therefore the imagery will need to be developed at high resolution. As my project is not being used to advertise a product the models will not need to look and feel as realistic due to a video game being more towards fiction therefore not having to be vastly complex but still being high res. Legal and ethical considerations: For my project I will have to consider and follow legal codes and bodies to prevent younger audiences being able to access/purchase this video game. The rating system would possibly use PEGI to determine what age the product would be suitable for. I will also need to follow Copyright laws as they are vastly important. Following copyright laws will prevent me from using product placement from commercial products and companies without the company’s permission as some companies will not want to be associated with the violence portrayed through the video game. Finally, I will not be using any inappropriate or offensive material that could offend people of different ethnicity or sex. Models: I have chosen to create various different models that could be used in my project the first being a pistol and a shotgun. Both of these models are being designed due to the theme of the project which is a horror first person shooter and would fit well with concept. Torch is the next model I will be creating. I have chosen a torch due to the setting being dark in which the player will have to use light from the torch to see and also create a sense of horror as this will be the only source of light for the player. Knife/Machete which still follow the violent theme of the game as they will be used as a weapon the protagonist will be able to pick up. Baseball bat will be another model I will be designing as I would like the video game to have a variety of weapons therefore creating a wide array of options for the player. For the majority of these models I will gather images off the internet to which I can base my models on and then begin creating in ‘Cinema 4D. For the 3D modelling project i have to create six seperate designs/models that would potentially be used in either a video game, advert, sci-fi, kids animation or an Architectural walkthrough. I have created a mindmap containing several ideas that i could possibly use to design various objects for. As you can see the majority of the ideas are either horror related or similar to a 'first person shooter video game', this is due to the ideas stemming from a mixture of the two which will allow me to create models that compliment the two genres and create a horror first person shooter game. My overall idea i have chosen to create a horror shoot em up video game which will contain objects such as weapons (pistol, shotgun etc.) and various objects that would be found around a derelict, run down, old house. 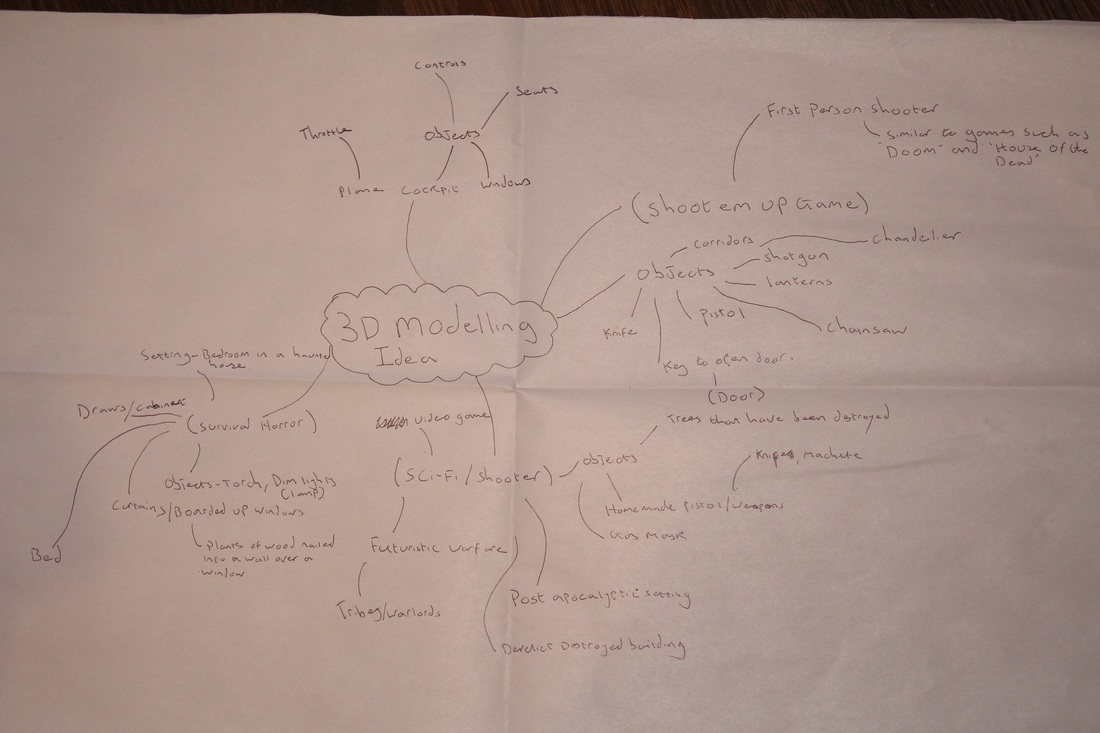 3D Modelling is used for a variety of different formats within the media. Most 3D modelling is mostly used in advertising, film, gaming, and architecture. 3D Modelling used for advertising, is to market products such as cars this is due to 3D modelling being more cost effective than using the actual product especially when concerning a car, as the company marketing the product will not have to worry about time constraints which would cost the company more money as they will be shooting on location and also have to pay a fee for a film crew, therefore building car and surrounding scenery using 3D modelling will save the company time and money. Another benefit of using 3D modelling for advertising is weather, as filming out on location the weather can sometimes be unpredictable, therefore using 3D modelling allows designers to have complete control on the type of conditions the advert will take place in without having to worry if weather conditions will change.
The second use of 3D modelling is in film. There are a number of uses of 3D modelling within the film industry such as building scenery and characters for animations such as films produced under Pixar and also for live action films for effects such as Avatar. Live action films will use 3D modelling to coincide with the actors this can be from building characters for sci-fi in which the actors will interact with, effects such as explosions and scenery surrounding the actors. 3D modelling can also be used to emphasise imagery such as adding bits to costumes and parts of the set. Gaming is another format that heavily uses 3D modelling. 3D modelling is used in gaming to build scenery, characters, and objects to which players can see and interactive with to create an immersive gaming experience. As gaming is becoming more realistic the use of 3D modelling is becoming more apparent as 3D modelling can be used to create the highest quality models and imagery to correlate with modern gaming consoles and computers. Finally 3D modelling can also be used to design architecture for the interior and exterior of buildings without having to hand draw blueprints and plans. 3D modelling allows clients to view an artistic impression through the use of 3D modelling prior to the completion of a building. For example if a client is building there own house or buying an unfinished house they will be able to know how the finished product is going to look and also have complete control on how the building is going to look. |
AuthorWrite something about yourself. No need to be fancy, just an overview. ArchivesCategories |


 RSS Feed
